Friday, November 2, 2018

Fall colors explained (repost from October 2016)

This is post was originally published in October 2016.  I like providing original content on this blog (and not just reposting thing I have previously written), but I have spent a lot of time in recent weeks explaining why leaves change color in the fall so I thought it was worth sharing again.

Fall colors at Sleeping Bear Dunes National Lakeshore
Have you ever wondered why leaves change colors?

It's a simple question with a complex biological answer involving masking, sugars, and pigments.

Normally the leaves of most plants appear green to people with normal color perception.  They are green because they are filled with a pigment called chlorophyll.  Chlorophyll is responsible for photosynthesis - the sugar production in plants and some bacteria (and one weird sea slug that incorporates chlorophyll into its body from an algae - although the mechanism has been called into question by some more recent research). It is also responsible for releasing oxygen in a form that we can use.

When leaves change color in the fall, they do so because the tree stops production of chlorophyll.  During the growing season, chlorophyll is so abundant in leaves that it masks all other colors found in the leaves.  As the level of chlorophyll decreases, the other colors begin to show through the mask.

Leaves, unmasked!

Yellow and orange colors are caused by a group of pigments known as carotenoids.  These colors were present throughout the growing season, but couldn't be seen because of the abundance of chlorophyll.

Thank carotenoids for the golden fall color of Quaking Aspen

Red and purple colors are different.  They are caused by by a group of pigments known as anthocyanins.  These chemicals are produced in the fall when chlorophyll production ceases.  The sugars that are produced by chlorophyll require the presence of several groups of chemicals to help break them down so they can be used as fuel at the cellular level - one of these groups is known as phosphates.  Phosphates are molecules that form around an atom of phosphorus, an important micronutrient.  Because phosphorus is present in limited quantities in the soil, trees can't afford to lose their phosphates when they drop their leaves - instead they transfer the phosphates back into the branches, trunk, and roots. 

The red in these Sumac leaves comes from anthocyanins

When the phosphates are shuffled away from the leaves, the leaves have to use a different process to break down the sugars - this process results in the production of anthocyanins.  When the level of anthocyanins becomes high enough, and the level of chlorophyll low enough, the leaves will appear red or purple.

Sometimes leaves appear red in the early spring.  This happens because the tree also produces anthocyanins in the spring before chlorophyll production ramps up to summer levels.  Once chlorophyll production begins at full scale the anthocyanin production ceases and the chlorophyll masks the reds and purples.

Anthocyanins at work - fall color in a spring leaf of Red Oak

Brown leaves are produced by an entirely different process.  The brown is the color of the cell walls within the leaves - some trees do not produce large quantities of either carotenoids or anthycyanins, so we see the brown of the cell walls instead.  This also the reason why all fallen leaves eventually turn brown - the pigments fade away and we are left seeing the brown cell walls of the leaf.

Wednesday, October 31, 2018

Birch Bark Canoe Build (Part 3)

The birch bark canoe build at the Ziibiwing Center of Anishinabe Culture & Lifeways (6650 E. Broadway, Mt. Pleasant) is nearing its end.  The goal of this event not just to build a canoe, but also to keep the knowledge and teaching related to canoe- building alive in the community.  

In my previous post about the project, the stem pieces and manboards had been installed in the canoe.  Since that time the ribs for the canoe were bent into shape and temporarily attached to the canoe - I am not sure if steam or hot water was used to make the ribs pliable.  The canoe had to be weighted down and clamped heavily while the ribs dried into shape otherwise the outward pressure of the ribs trying to return to a straight form could destroy the canoe.  These ribs needed several days to dry so the canoe was left over the weekend.
The ribs nailed in place temporarily


Once the ribs had dried into their bent shapes, they could be removed and the final steps of the assembly could begin.  At this stage thin sheathing made from cedar was cut to length and fitted into the canoe.  This sheathing adds strength to the canoe (so you won't put a foot through the bottom of the canoe) without adding much weight.  Once the sheathing strips were wedged in place with a temporary rib, the real ribs were cut to length, their ends trimmed and the leading edge rounded to fit into the canoe.  The ribs were installed by inserting the ends under the gunnel and then tapped into place with a mallet.  The entire hull was soaked with hot water to make the bark more flexible and capable of stretching as the ribs were forced into place.  More water was added as needed.  This process was completed over the course of two days.  At this point the final stitching of the hull on the bow and stern of the canoe was also completed.

One half of the completed ribs

Drenching the hull in boiling water to make it more pliable

Carving a rib to its final shape - also note the completed stitching on the hull

Adding the cedar sheathing

Installing the very first rib


The ribs are tapped into place with a mallet

Once the sheathing and ribs were installed, there were only a couple steps left to complete the canoe. 


A view of the installed ribs and sheathing

The pieces of sheathing overlap on edge and end-to-end in two places either side the center of the canoe

The completed ribs


Notice how the ribs and sheathing of the ceiling mimic the ribs and sheathing in the canoe

Today I noticed for the first time that the 15 foot long hull is made of only two large pieces of bark- one more then 10 feet long and the other making up the difference of the 15 feet.


First the gunwale caps needed to be carved and fixed in place.  These were fixed in place with hand-carved hardwood pegs.  (A peg that I carved was the last one installed).  On the bos and stern, the gunwale caps were stitched into place as there is no place to insert a peg.

Carving the gunwale caps with a draw knife


Hot water allows the gunwale caps to bend into the proper shape.


Fixing the gunwale cap to the gunwales with hardwood pegs


Finally the seams of the canoe needed to be sealed with a mixture of spruce or pine pitch, charcoal, and bear grease.  The pitch is heated until all the volatile turpentine has evaporated from it then bear grease and charcoal are added until it has the right consistency to be works by hand onto the seams of the canoe.  This process will go on until tomorrow in several stages.  The pitch must be applied and then reheated to mold it into place.

A large milling stone was used to grind charcoal

Adding bear grease to the hot pitch
 
Testing for consistency

Stirring in charcoal

Demonstrating how to apply the hot pitch by hand - the key is to wet the hands with soapy water so the pitch doesn't stick

Many hand make light work


This pitch will be reheated and smoothed further

Once the canoe is entirely complete the Tribe plans to have a launch ceremony.  This is tentatively schedule for Saturday November 10th.  I will post more information as it become available.

Sunday, October 28, 2018

Fall Forestry Studies

The best part of my job is getting students outdoors.  I especially enjoy getting them into the woods to study forestry and forest ecology

Want to make a kid's jaw drop?  Tell them that they are going to count how many trees are in a forest.  Even better is to tell them that they have to find out how many leaves can be found on the forest floor or that they have to find out how the leaves weigh!

I always manage to get lots of students outdoors in the spring, but this year I made an effort to schedule more field explorations for the fall.  Over the past three weeks, I was able to get eleven classrooms from four different schools out into the woods.  Two of the classrooms have been out in the woods with me before, but for the other nine classes it was a completely new experience.  It's always interesting to see how the students (and their teachers) react to the independence.

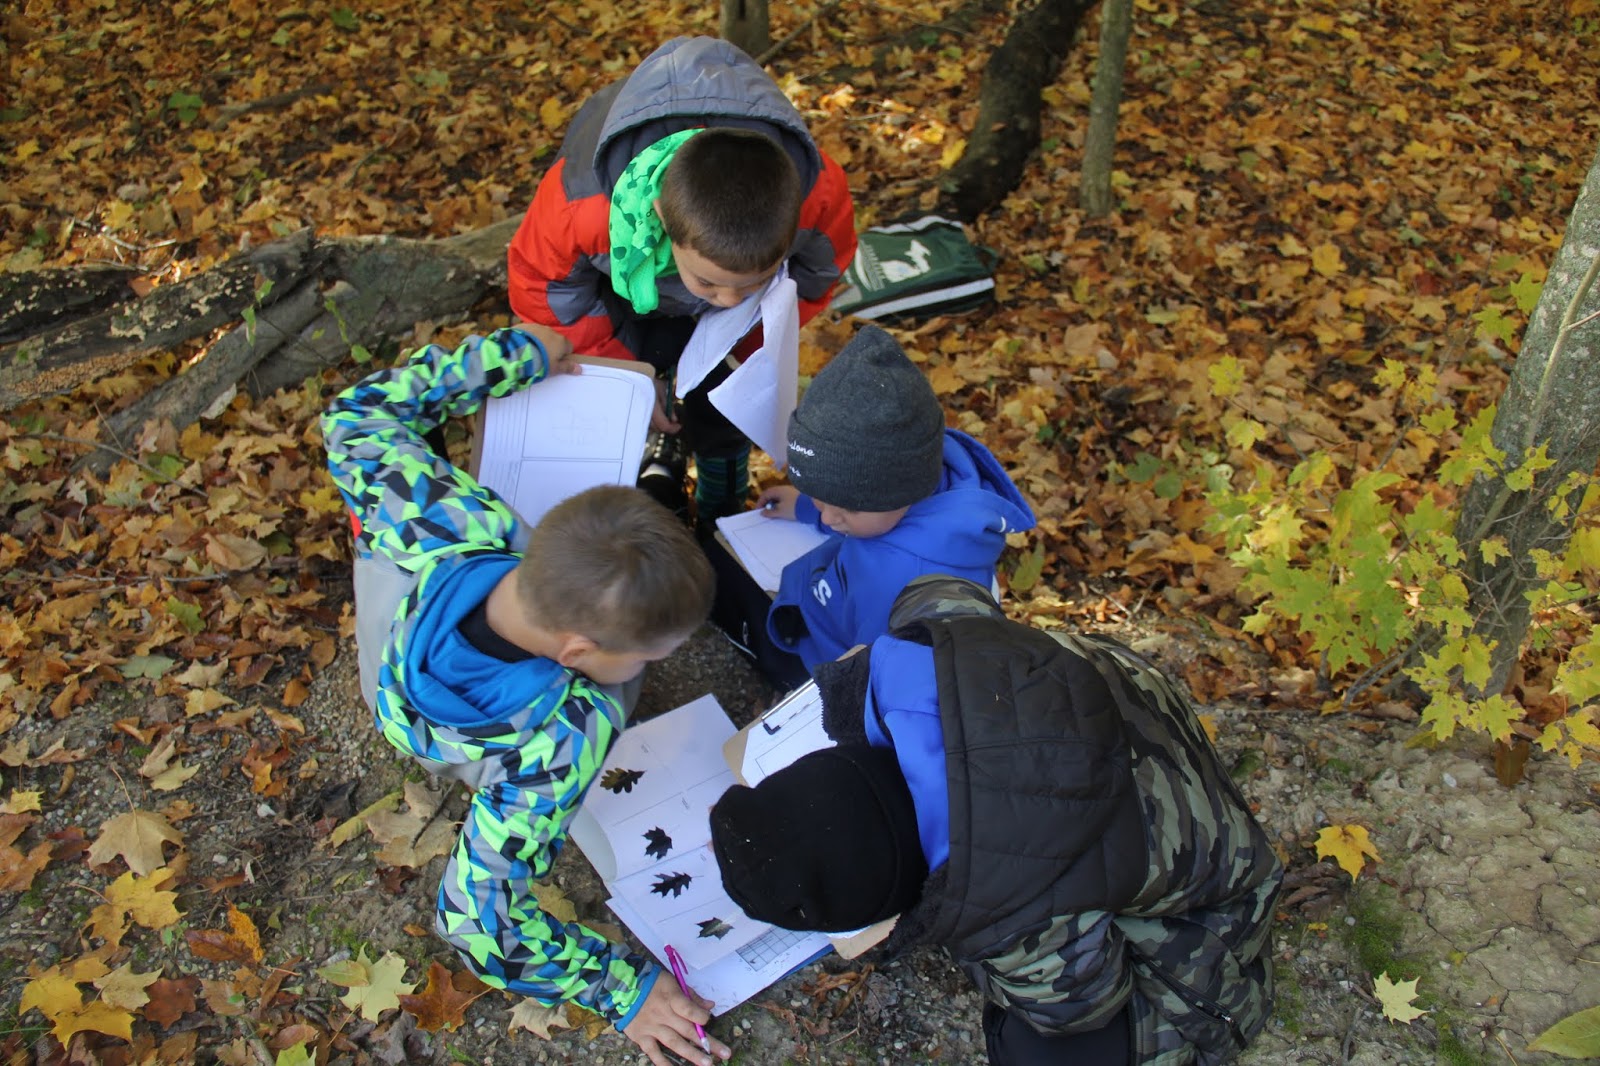
Here are a few pictures from three of the schools.  (Unfortunately, it looks like I did not take any photos of the two classrooms from the fourth school.)  The students in these photos are counting leaves in a square foot plot (or quadrat), collecting leaves to weigh, measuring the forest canopy using a clear grid, and identifying leaves using a guide. 

12 October 2018 - Winn Elementary at Audubon Woods


16 October 2018 and 19 October 2018 - Mary McGuire Elementary at Mission Creek Park


25 October 2018 - Beal City Elementary at Beal City School woodlot